Reservations
Who is this article for?
Account owners, or team members whose role has:
- Take orders
Set roles in All apps > Setup > Roles.
Accept table bookings ahead of time and manage your seating schedule.
Accessing reservations
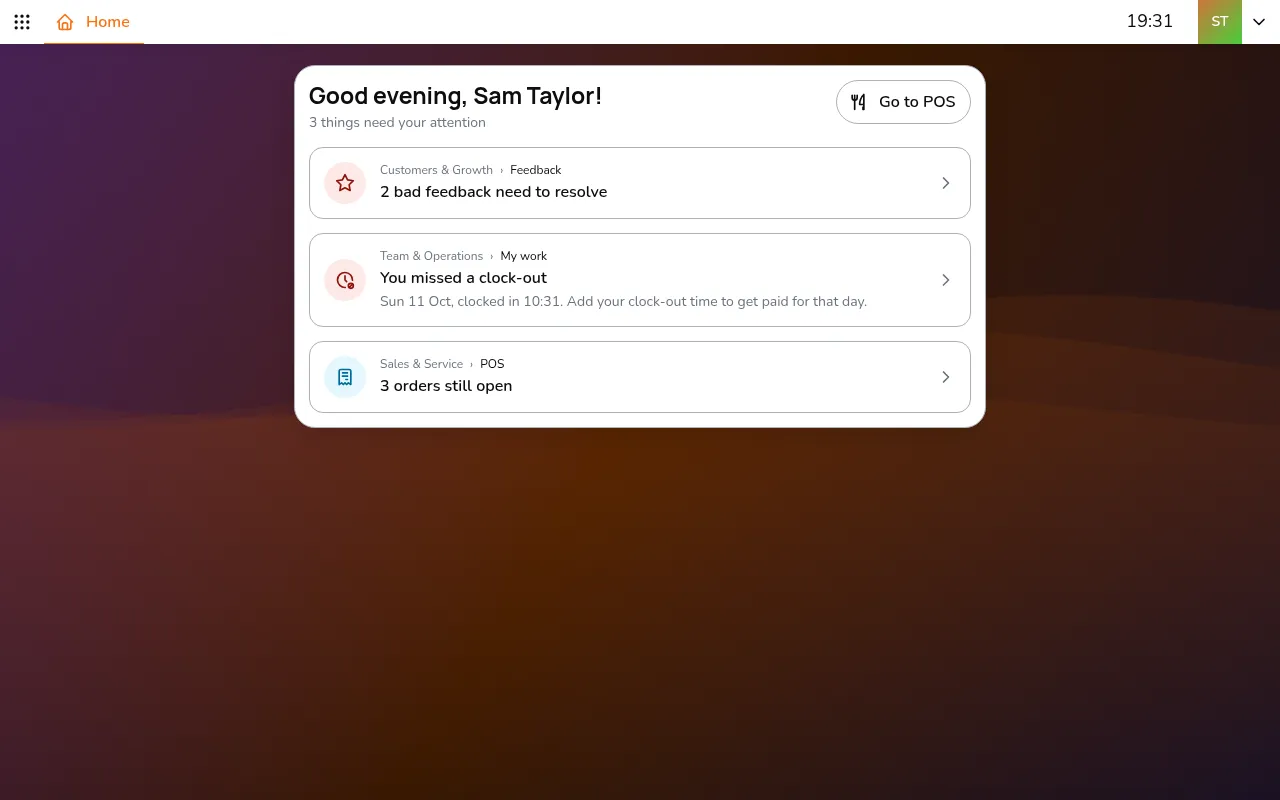
- Go to All apps > Sales & Service > POS
- Select your store using the store selector
- Go to Reservation
The screen has two tabs: Calendar and Floor plan.
Creating a reservation
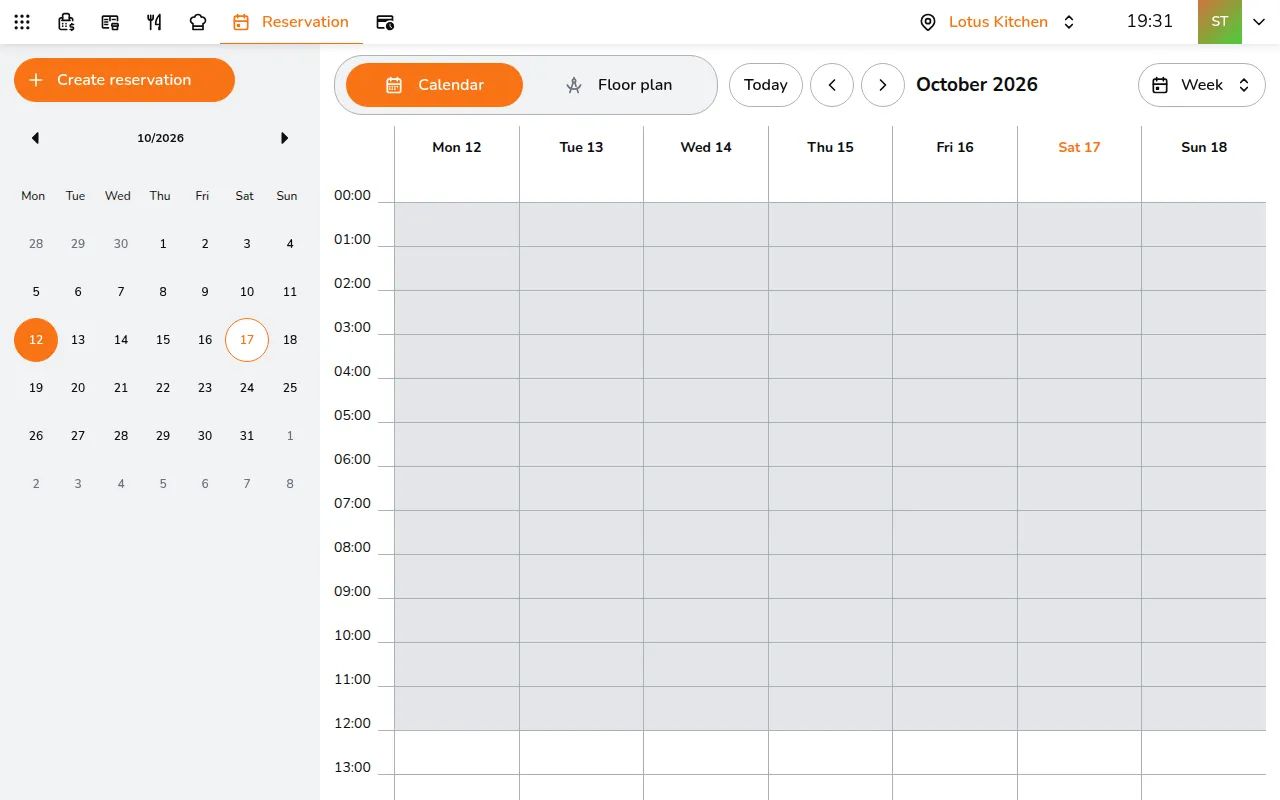
- Click Create reservation in the sidebar (+ on a phone), or tap an empty time slot on the calendar
- Pick a date, time, table, and enter the guest's name
- Click Create reservation
The system shows your store's opening hours and warns if you pick a time outside them. You can also add the guest's phone, email, party size, and any special requests.
Calendar
Switch between views using the dropdown at the top:
- Day - hourly timeline for one day
- Week - 7-day overview with hourly grid (default)
- Month - monthly calendar showing reservation counts per day
Use the arrow buttons to navigate between periods, or click Today to jump back. The mini calendar in the sidebar lets you jump to any date.
On a phone, the calendar is a week strip: tap a day to see its bookings, with the number of bookings and guests.
Floor plan
Your restaurant layout with tables colored by status:
- Red - overdue reservation
- Orange - has upcoming reservations
- Grey - available
Each table shows how many bookings it has. Tap a table to view or create reservations for it. Use the arrows to switch between floors if you have multiple.
Managing reservations
Tap a reservation to open it. When shows its date and time, with a countdown until the guest is due. From there:
- Edit - change the date, time, table, guest info or notes
- Seat - the guest has arrived: seat them at their table
- Cancel reservation - cancel the booking (asks for confirmation)