POS Setup
Who is this article for?
Account owners, or team members whose role has:
- Menus and items set to Manage
- Locations and terminals set to Manage
Set roles in All apps > Setup > Roles.
Smatyx POS runs in any modern browser. No app install needed.
Requirements
- A tablet (iPad or Android) or computer with a web browser
- Internet connection
- Your Smatyx account credentials
Installation
On Tablet
- Open your device's web browser
- Go to app.smatyx.com
- Log in with your credentials
- Tap Add to Home Screen for quick access
On Computer
- Open Chrome, Safari, or Firefox
- Go to app.smatyx.com
- Log in and bookmark the page
Menu configuration
Set up your menus and items before opening:
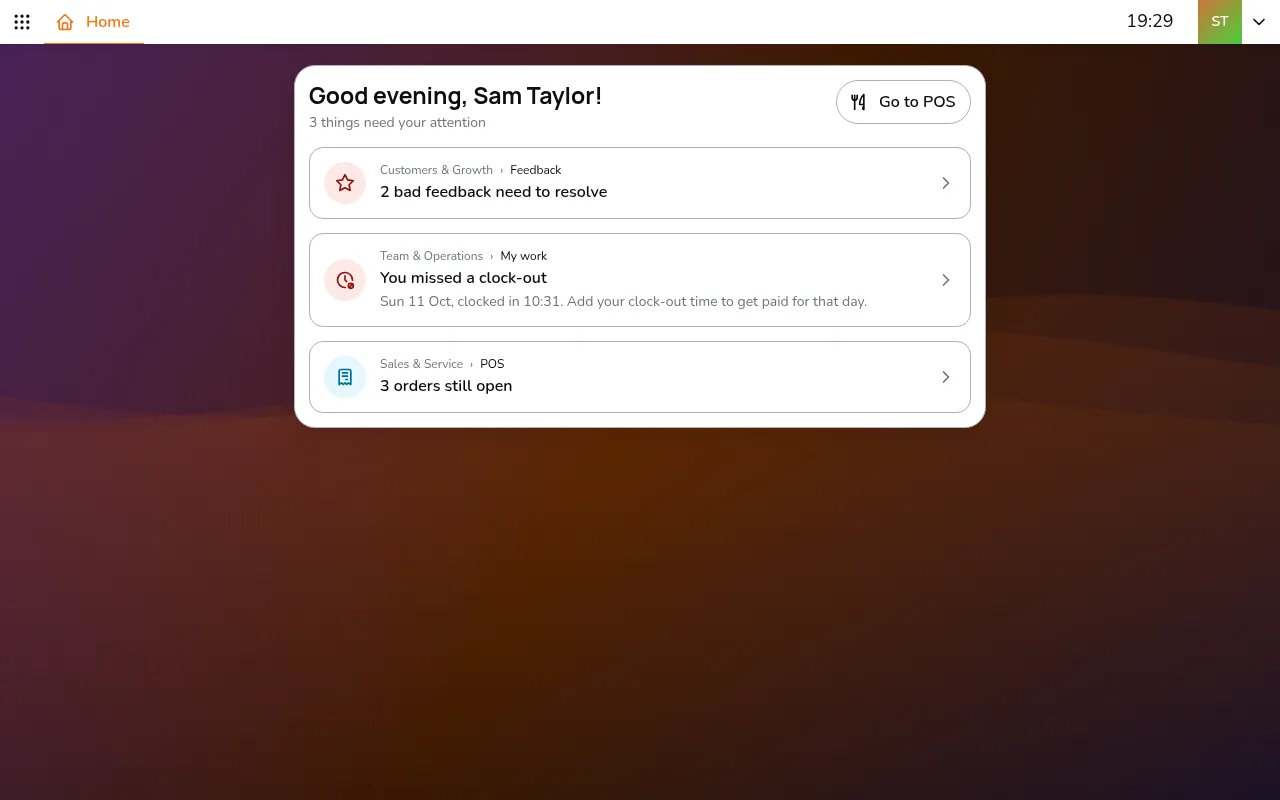
- Go to All apps > Menu & Products > Items to create menu items
- Go to All apps > Menu & Products > Menus to organize items into menus
- Go to All apps > Setup > Sales, pick your store with in the app bar, and open Menus to choose the menus it sells
With Enable all menus off, you pick the menus one by one, and can restrict each by order method (e.g., smaller menu for delivery) or by time slot (e.g., lunch menu 11h-15h).
See the Quick Start guide for a detailed walkthrough of creating items and menus.
Store configuration
Set up your store before taking orders:
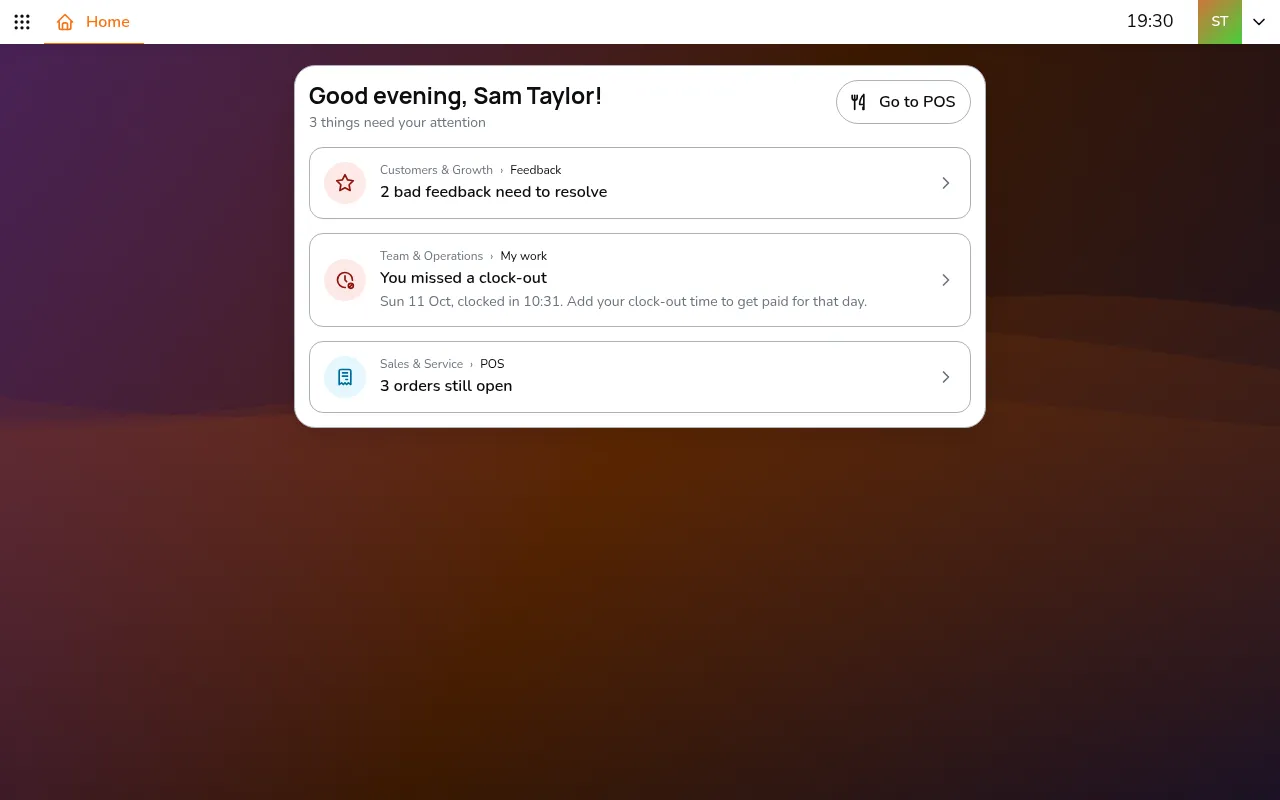
- Go to All apps > Setup > Locations
- Open your store, or tap Add location to create one
A store's settings are on four pages of Setup:
- Locations, in the store itself:
- General: name, address and the store's place on the map
- Website display: the store's Google listing and review link
- Opening times & order methods: dine-in, takeaway, delivery, and when the store accepts orders
- Employees: who works at this store
- Sales:
- Payments: cash, bank transfer, Dojo, SumUp and the store's card terminals
- Menus: the menus the store sells
- Floor plan: floors and tables
- Kitchen stations: split your kitchen into zones (grill, drinks, desserts) so orders route to the right screen
- Pickup screen (TV): how the pickup screen looks at this store
- Stock deduction: take stock off when items sell
- Sales channels: Self-order, see Self-Ordering Setup
- Staff operations: clock-in and clock-out, checklists and issues at this store
Sales, Sales channels and Staff operations show the store picked with in the app bar.
Floor plan & tables
For dine-in service, set up a visual floor plan:
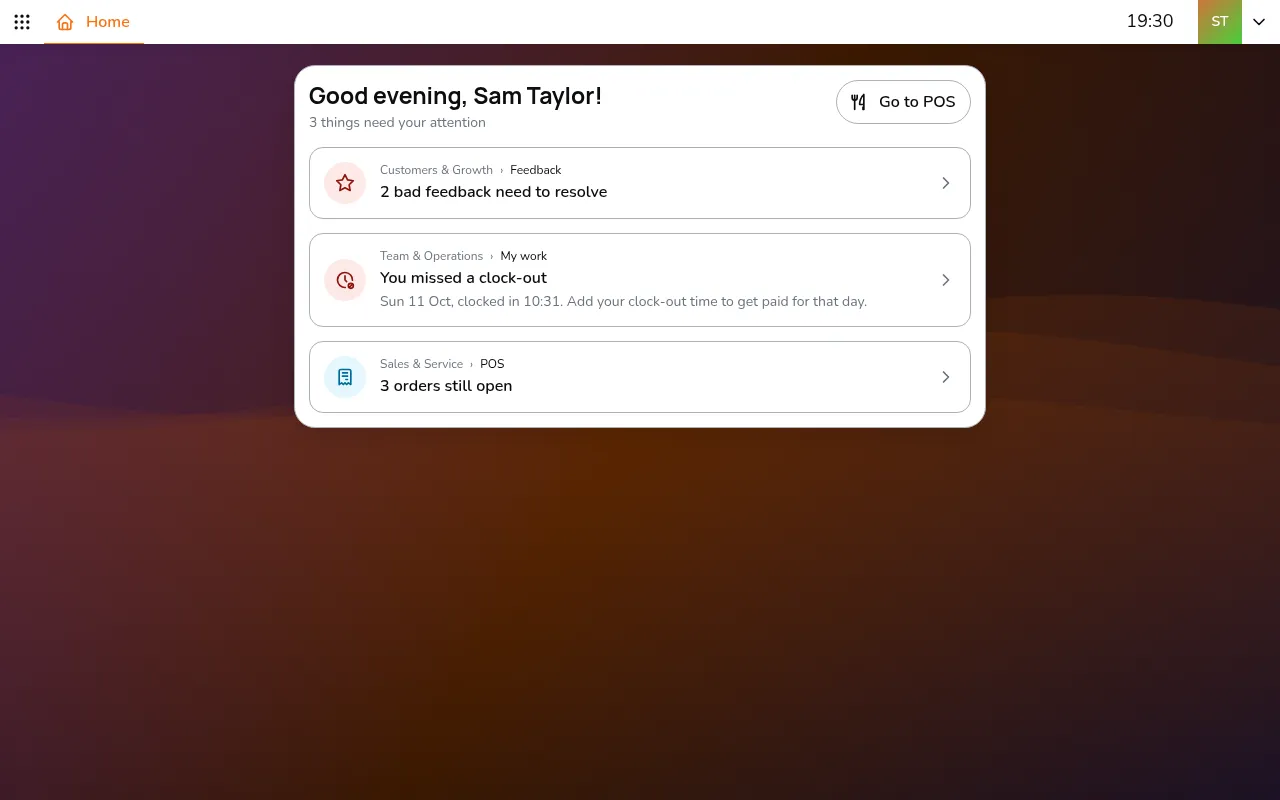
- Go to All apps > Setup > Sales and pick your store with in the app bar
- Open Floor plan
- Tap Edit floors to add a floor (e.g., "Ground Floor", "Terrace")
- Tap Add new table(s) and enter the number of tables and the seats at each
- Drag tables to position them
You can create multiple floors. Staff can switch between list view and layout view when selecting tables in the POS.
Payment terminals
Set up card readers (like Dojo):
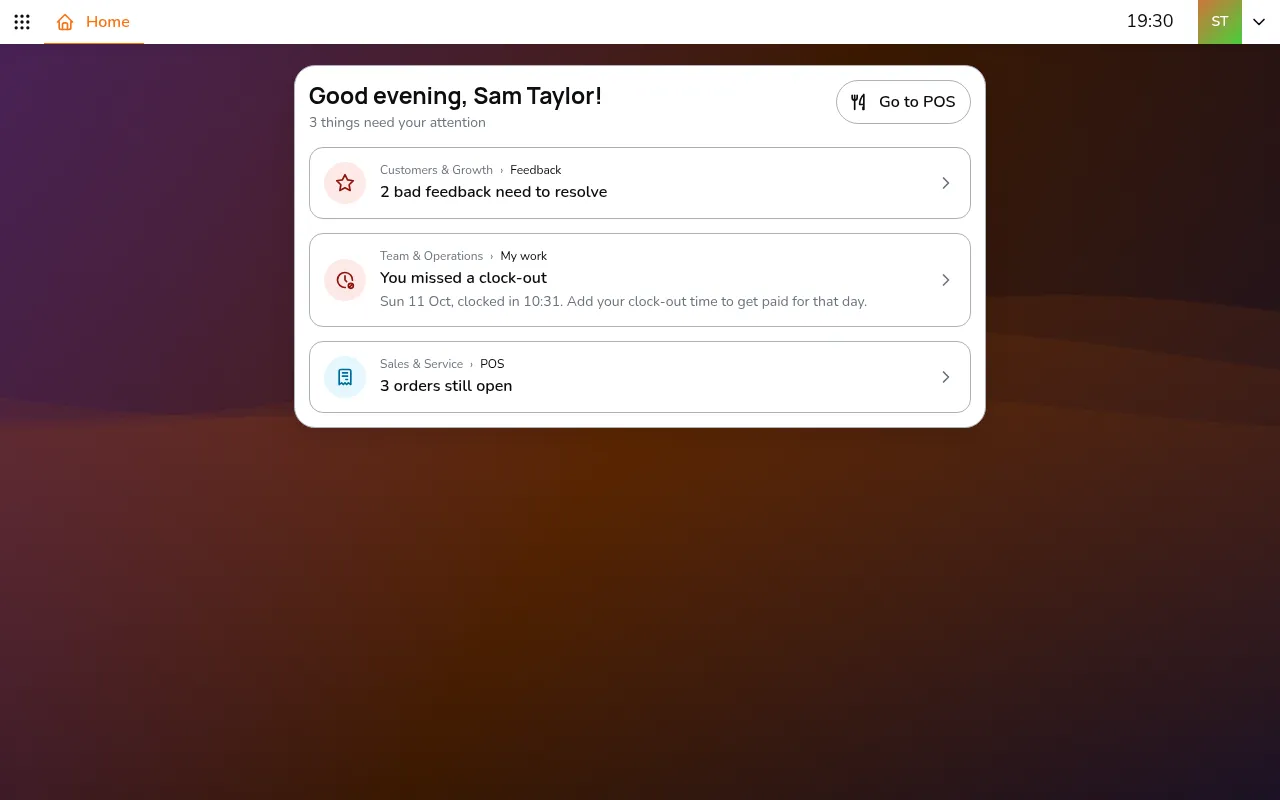
- Go to All apps > Setup > Terminals
- Tap Add terminal
- Follow the pairing instructions
One tablet can work with multiple terminals.